


How to Create a WordPress Plugin: A Step-by-Step Guide
Build Your Own Custom WordPress Plugin in No Time


Creating a WordPress plugin can seem daunting, but it's quite straightforward once you know the basics. Here is a step-by-step guide to creating a simple WordPress plugin.
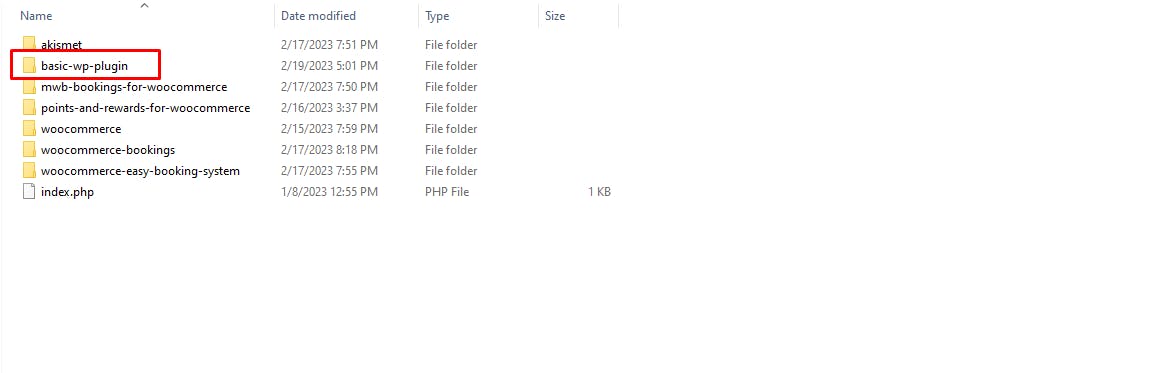
Create a new directory for your plugin
The first step is to create a new directory for your plugin. This directory will contain all the files that make up your plugin. You should give your plugin directory a unique name to avoid conflicts with other plugins.
Create a main PHP file
In your plugin directory, create a new PHP file that will serve as the main file for your plugin. This file should contain the code that initializes your plugin, registers any necessary hooks, and defines any functions or classes that your plugin uses.
For example, let's say we want to create a plugin that adds a custom code that create a custom post type to WordPress. Here is an example of what the main PHP file for this plugin might look like:
<?php
/*
Plugin Name: Basic Wp Plugin
Plugin URI: https://example.com/
Description: Basic Wp Plugin - Plugin that create team post type.
Version: 1.0
Author: Ramiz Theba
Author URI: https://hashnode.com/@ramiztheba
License: GPL2
*/

// Register Custom Post Type Team
function Team() {

    $labels = array(
        'name'                  => _x( 'Teams', 'Post Type General Name', 'custom_elementor_addon' ),
        'singular_name'         => _x( 'Team', 'Post Type Singular Name', 'custom_elementor_addon' ),
        'menu_name'             => __( 'Team', 'custom_elementor_addon' ),
        'name_admin_bar'        => __( 'Team', 'custom_elementor_addon' ),
        'archives'              => __( 'Item Archives', 'custom_elementor_addon' ),
        'attributes'            => __( 'Item Attributes', 'custom_elementor_addon' ),
        'parent_item_colon'     => __( 'Parent Item:', 'custom_elementor_addon' ),
        'all_items'             => __( 'All Items', 'custom_elementor_addon' ),
        'add_new_item'          => __( 'Add New Item', 'custom_elementor_addon' ),
        'add_new'               => __( 'Add New', 'custom_elementor_addon' ),
        'new_item'              => __( 'New Item', 'custom_elementor_addon' ),
        'edit_item'             => __( 'Edit Item', 'custom_elementor_addon' ),
        'update_item'           => __( 'Update Item', 'custom_elementor_addon' ),
        'view_item'             => __( 'View Item', 'custom_elementor_addon' ),
        'view_items'            => __( 'View Items', 'custom_elementor_addon' ),
        'search_items'          => __( 'Search Item', 'custom_elementor_addon' ),
        'not_found'             => __( 'Not found', 'custom_elementor_addon' ),
        'not_found_in_trash'    => __( 'Not found in Trash', 'custom_elementor_addon' ),
        'featured_image'        => __( 'Featured Image', 'custom_elementor_addon' ),
        'set_featured_image'    => __( 'Set featured image', 'custom_elementor_addon' ),
        'remove_featured_image' => __( 'Remove featured image', 'custom_elementor_addon' ),
        'use_featured_image'    => __( 'Use as featured image', 'custom_elementor_addon' ),
        'insert_into_item'      => __( 'Insert into item', 'custom_elementor_addon' ),
        'uploaded_to_this_item' => __( 'Uploaded to this item', 'custom_elementor_addon' ),
        'items_list'            => __( 'Items list', 'custom_elementor_addon' ),
        'items_list_navigation' => __( 'Items list navigation', 'custom_elementor_addon' ),
        'filter_items_list'     => __( 'Filter items list', 'custom_elementor_addon' ),
    );
    $args = array(
        'label'                 => __( 'Team', 'custom_elementor_addon' ),
        'description'           => __( 'Team Post Type', 'custom_elementor_addon' ),
        'labels'                => $labels,
        'supports'              => array( 'title', 'editor', 'thumbnail', 'custom-fields' ),
        'taxonomies'            => array( 'League' ),
        'hierarchical'          => false,
        'public'                => true,
        'show_ui'               => true,
        'show_in_menu'          => true,
        'menu_position'         => 10,
        'menu_icon'             => 'dashicons-groups',
        'show_in_admin_bar'     => true,
        'show_in_nav_menus'     => true,
        'can_export'            => true,
        'has_archive'           => true,
        'exclude_from_search'   => false,
        'publicly_queryable'    => true,
        'capability_type'       => 'post',
        'show_in_rest'          => false,
    );
    register_post_type( 'team', $args );

}
add_action( 'init', 'Team', 0 );
This code creates a new custom post type called "team" and defines a function called "Team".

Add a header to your main PHP file
At the top of your main PHP file, you should include a header that provides information about your plugin, such as its name, version, and author. This header should be in a comment block, like this:
<?php
/*
Plugin Name: Basic Wp Plugin
Plugin URI: https://example.com/
Description: Basic Wp Plugin - Plugin that create team post type.
Version: 1.0
Author: Ramiz Theba
Author URI: https://hashnode.com/@ramiztheba
License: GPL2
*/
This header is important because it tells WordPress that your file is a plugin and provides information that can be displayed in the WordPress admin area.
Add any additional files your plugin needs
If your plugin requires additional files, such as CSS or JavaScript files, you can add them to your plugin directory. Make sure to use the appropriate WordPress functions to enqueue these files, so that they are loaded only when needed.
add_action( 'wp_enqueue_scripts', 'my_plugin_assets' );
function my_plugin_assets() {
    wp_register_style( 'custom-gallery', plugins_url( '/css/gallery.css' , __FILE__ ) );
    wp_register_script( 'custom-gallery', plugins_url( '/js/gallery.js' , __FILE__ ) );

    wp_enqueue_style( 'custom-gallery' );
    wp_enqueue_script( 'custom-gallery' );
}
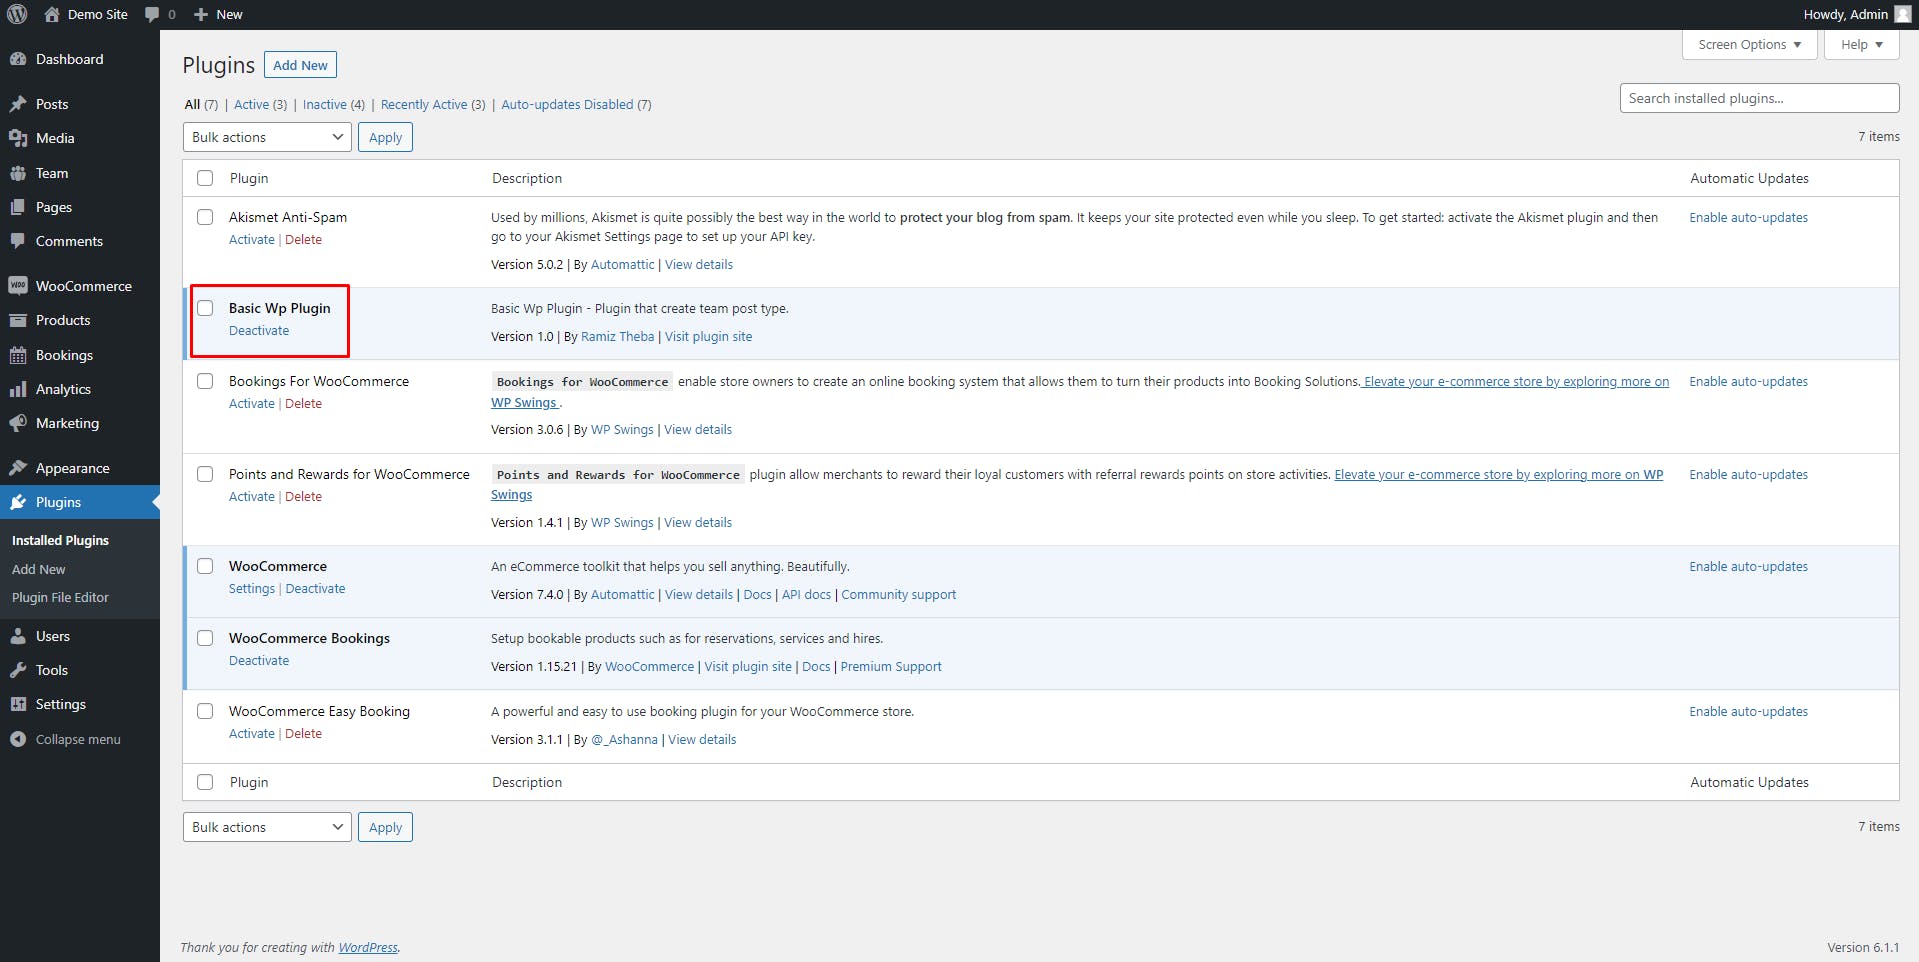
Upload your plugin to WordPress
To use your plugin, you need to upload it to your WordPress site. You can do this by compressing your plugin directory into a ZIP file and then uploading it through the WordPress admin area. Alternatively, you can upload the directory directly to your site's "wp-content/plugins" directory using FTP.
Once your plugin is uploaded, activate it in the WordPress admin area, and you're good to go!